Cheese Making
In this multi-day, multi-part activity, students turn milk into cheese. Throughout the process they observe, describe, and compare the various materials produced. They first culture the milk with non-toxic bacteria, which begins the curdling process. Once the bacteria have had sufficient time to act on the milk, an enzyme is added to hasten clotting and the separation of the curds and whey. Finally, they strain the mixture to remove the whey then compress and refrigerate the curd to cure it into cheese.
Details at a Glance
- 1-2 Days | 1-2 ~50 minute class periods
- 3 Activities
- Accommodates 1 class, with 15 groups of 2 students
- Consumables service 30 students
- Meets our criteria for supporting literacy
- Includes digital resources
- Requires a water source
Scientific Concepts
•Live bacteria can cause milk proteins to solidify.
•Enzymes can speed up curd formation.
KEY VOCABULARY: curd, enzyme, whey
Guides & Student Sheets
Our kits and modules provide you with everything you need so you can open, review, and teach the material confidently the next day.
- Comprehensive Teacher Guide with background information, detailed instruction, example data and answers
- Student Sheets with age appropriate background information, full procedure(s), and analysis items
- Materials necessary for the investigation (beyond common classroom items)
- Safety Data Sheets
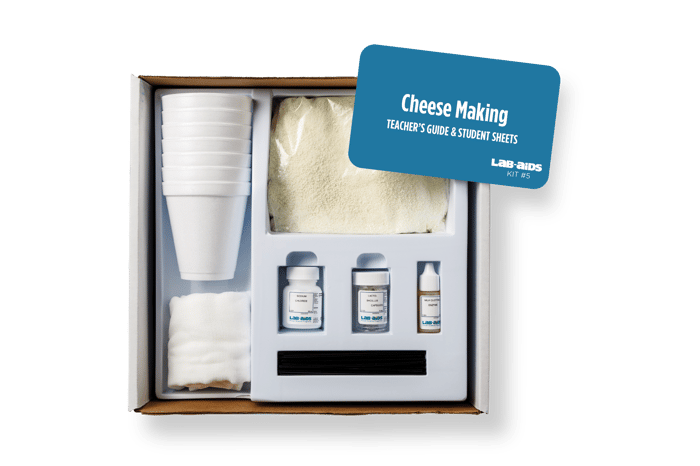
Kit Components
- 1 Teacher’s Guide with MSDS
- 30 Student Worksheets and Guides
- 15 Insulated plastic containers
- 1 Bottle of Lactobacillus capsules
- 1 Bottle of Sodium Chloride
- 1 Bottle of milk clotting enzyme
- 1 Package of cheesecloth
- 1 Package of stirrers
- 4 Dry powdered milk (quart size)
- Not included and needed for instruction: Sterile stirrers, sterile containers, sterile thermometers, heat source, measuring cup, 1/4 teaspoon measurer, pH measurer, flavorings, string or rubber bands, ring stands with rings, plastic wrap or resealable bags, access to a refrigerator.
Related Products
-
 Kit #6AFood Nutrient Analysis
Nutrients are substances obtained by eating and drinking that are essential for the human body to function normally. The six classes of nutrients are: carbohydrates (starches, sugars, and fiber), lipids (fats and oils), proteins, vitamins, minerals, and water. Nutrients in food provide materials essential for growth, maintenance, and regulation of body processes, and energy...
$163.40 View Details -
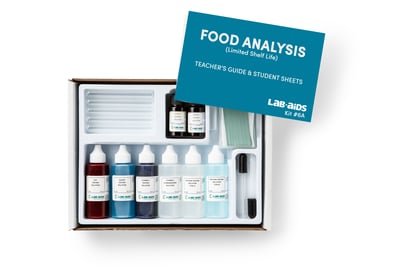
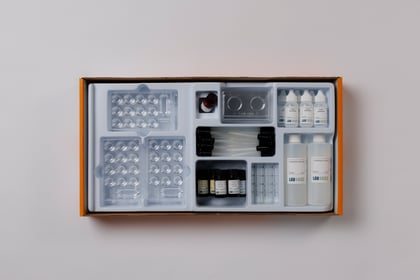
Kit #6Food Analysis
Using simple and safe chemical tests, students can very quickly and easily identify the major nutrients in common foods. Students use step-by-step instructions to test common foods for the presence of carbohydrates, proteins, lipids. They also perform qualitative (detect a presence) and quantitative (how much) tests of Vitamin C by using a very simple...
$118.90 View Details -
Kit #25REnzyme Activity
This kit allows students to qualitatively and quantitatively observe the catalytic effects of enzymes on the breakdown of starch into sugar. In Part 1, students use Starch Indicator (Lugol’s) Solution to provide evidence that enzymes play a critical role in the breakdown of starch. Part 2, a teacher demonstration, shows that the breakdown of...
$215.90 View Details -
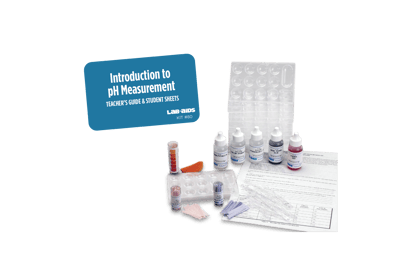
Kit #80Ph Measurement
This series of simple, highly visual lab activities introduce students to the concept of pH. Students add drops of acid and base to a variety of pH indicators and observe how pH indicators can detect and differentiate acids and bases. Students are also introduced to the concept that acid and base discussions are not...
$88.90 View Details -
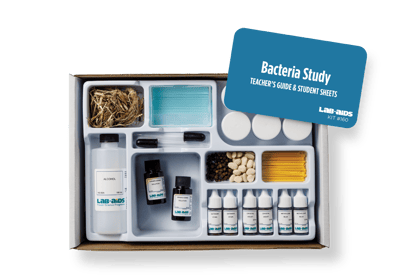
Kit #160Bacteria Study
Students conduct the classic Leeuwenhoek bacteria experiment in this individualized, self-paced kit. Paralleling methods performed over 300 years ago, students observe and identify bacteria using a microscope.
$154.60 View Details